


Making your own coconut milk at home is not only easy but also a great way to ensure you’re getting a fresh product without any additives. Using shredded coconut, you can whip up a creamy, delicious milk that’s perfect for your recipes or just to enjoy on its own. This guide will walk you through the steps of making coconut milk using shredded coconut, so you can enjoy this tasty alternative in no time!
Ingredients For Coconut Milk
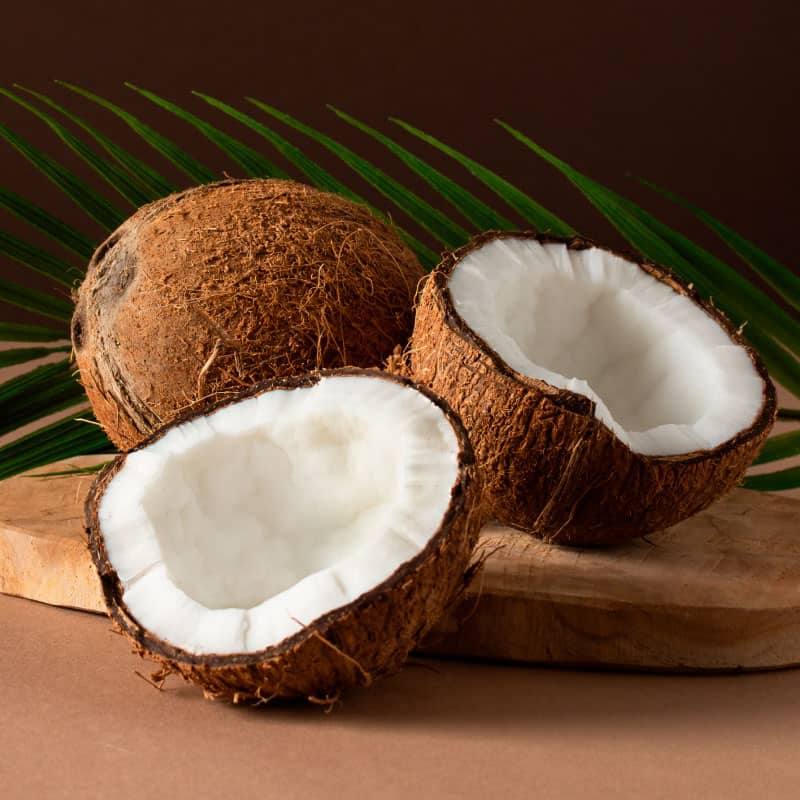
Shredded Coconut Selection
When it comes to making coconut milk, the quality of your shredded coconut matters. You’ll typically find two main types: sweetened and unsweetened. For the best, most authentic coconut milk, go for unsweetened shredded coconut.
Sweetened coconut can alter the flavor profile, making your coconut milk taste more like a dessert than a versatile ingredient. Also, check the expiration date to ensure freshness. Stale coconut won’t yield the best flavor. You can find shredded coconut at most grocery stores.
Water Quality
Water is the other key ingredient, and its quality directly impacts the taste of your coconut milk. Filtered water is highly recommended. Tap water can sometimes contain chlorine or other impurities that can affect the overall flavor.
The temperature of the water also plays a role. Warm water helps to extract more flavor and fat from the coconut, resulting in a creamier milk. However, avoid using boiling water, as it can cook the coconut and alter the taste.
Optional Sweeteners
While not essential, you might want to add a touch of sweetness to your homemade coconut milk. If so, consider natural sweeteners like maple syrup, agave nectar, or even a few drops of stevia.
Start with a small amount and adjust to your preference. Remember, the goal is to complement the coconut flavor, not overpower it. Here’s a quick guide:
- Maple Syrup: Adds a subtle caramel note.
- Agave Nectar: Offers a clean, neutral sweetness.
- Stevia: A little goes a long way; use sparingly.
Preparing The Shredded Coconut
Rehydrating The Coconut
Before you even think about blending, rehydrating the shredded coconut is a key step. This process helps to soften the coconut, making it easier to blend and extract all that creamy goodness.
I usually soak my shredded coconut in hot water for about 30 minutes to an hour.
- Use hot (but not boiling) water. This helps to speed up the rehydration.
- Make sure all the coconut is submerged. If needed, add a little more water.
- Let it sit undisturbed. This allows the coconut to fully absorb the wate
Choosing The Right Shredded Coconut
Not all shredded coconut is created equal! The type you choose can significantly impact the taste and texture of your homemade coconut milk. I always go for unsweetened, desiccated coconut.
- Unsweetened is a must. You want to control the sweetness yourself.
- Check the expiration date. Freshness matters, even with dried coconut.
- Organic is a plus. If you’re concerned about pesticides, opt for organic.
Tips For Best Results
Okay, so you’ve got your coconut and you’re ready to go. Here are a few extra tips I’ve learned over time to ensure your coconut milk turns out amazing:
- Use a high-quality blender. This makes a huge difference in the final texture.
- Don’t overcrowd the blender. Work in batches if necessary.
- Strain thoroughly. Get every last drop of that coconutty goodness!
Blending Process For Coconut Milk
Setting Up The Blender
Alright, so you’ve got your rehydrated coconut ready to go. Now it’s time to get that blender prepped. First things first, make sure your blender is clean. You don’t want any lingering flavors messing with your fresh coconut milk. I usually give mine a quick rinse before starting. Next, you’ll want to think about the order you add things.
I find it’s best to put the shredded coconut in first, then pour the water over it. This helps the blender grab everything and mix it properly. If you’re using a regular blender (not a high-speed one), you might want to do this in batches to avoid overfilling and straining the motor. Nobody wants a burnt-out blender!
Best Blending Time
Okay, now for the fun part: blending! The best blending time really depends on your blender. If you’ve got a high-speed blender, like a Vitamix, you’re probably looking at around 1-3 minutes. For a standard blender, you might need to go a bit longer, maybe 3-5 minutes. The goal is to get the mixture as smooth and creamy as possible.
You’ll know it’s ready when you don’t see any large chunks of coconut floating around. I usually start on a low speed and gradually increase it to high. This helps prevent splattering and ensures everything gets properly incorporated. If you’re doing batches, blend each one for the same amount of time to keep the consistency consistent.
The Right Consistency
Consistency is key when it comes to coconut milk. If it’s too thick, it can be a bit heavy and not as pleasant to drink or use in recipes. If it’s too thin, it might lack that rich, coconutty flavor we’re after. Here’s how to nail it:
- Water Ratio: The amount of water you use directly affects the consistency. Start with the recommended ratio (usually around 2 cups of water per cup of shredded coconut) and adjust from there. If it’s too thick, add a little more water, a quarter cup at a time, until you reach your desired consistency.
- Blending Time: As mentioned earlier, blending time plays a role. Longer blending times result in a smoother, creamier texture.
- Straining: The straining process also impacts consistency. A finer straining method (like using multiple layers of cheesecloth) will remove more solids, resulting in a thinner milk.
Here’s a quick guide:
| Consistency | Issue | Solution |
|---|---|---|
| Too Thick | Not enough water | Add water (1/4 cup at a time) and re-blend |
| Too Thin | Too much water | Use less water in the next batch |
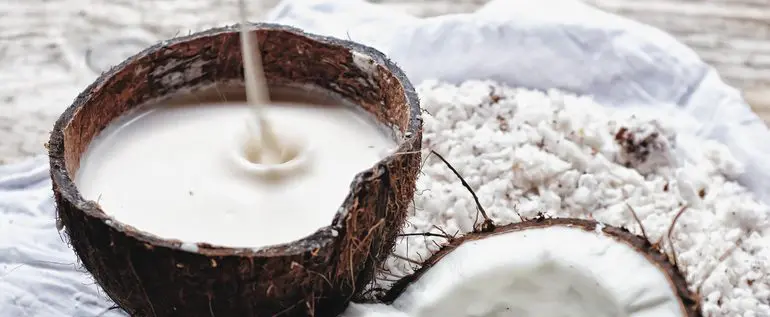
Straining The Coconut Milk
Okay, so you’ve blended your coconut and water into a creamy-looking mixture. Now comes the part where we separate the milk from the pulp. This step is super important because nobody wants gritty coconut milk!
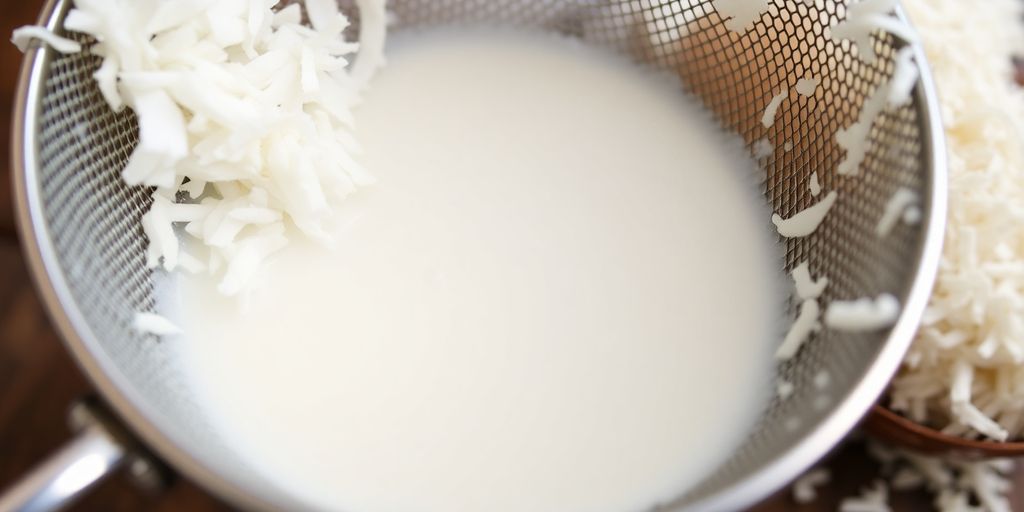
Using A Nut Milk Bag
A nut milk bag is honestly the best tool for this job. It’s basically a fine mesh bag that lets the liquid through while trapping all the solid bits. Just put the bag over a large bowl or pitcher, pour in your blended coconut mixture, and then gently squeeze the bag to extract the milk. Don’t be afraid to really squeeze to get every last drop!
Alternative Straining Methods
Don’t have a nut milk bag? No problem! You can use a few other things:
- Cheesecloth: Layer several pieces of cheesecloth over a bowl and strain like you would with a nut milk bag.
- Fine-Mesh Sieve: This will work, but you might need to line it with cheesecloth or a thin towel to catch all the small particles.
- Clean T-Shirt: In a pinch, a clean, thin t-shirt can work as a strainer. Just make sure it doesn’t have any detergent residue.
Maximizing Liquid Extraction
Getting all the milk out is key! Here are a few tips:
- Squeeze, squeeze, squeeze! Don’t be gentle; really work that pulp to get all the liquid out.
- Second Pressing: After the first straining, you can actually put the pulp back in the blender with a little fresh water and blend again. This will help you extract even more milk.
- Don’t Overfill: Strain in batches to avoid overflowing and making a mess.
Storing Homemade Coconut Milk
So, you’ve made a batch of fresh coconut milk. Awesome! Now, let’s talk about how to keep it fresh and delicious for as long as possible. Proper storage is key to enjoying your homemade creation.
Best Storage Practices
- Always use an airtight container. This helps prevent the coconut milk from absorbing odors from your fridge and keeps it fresher longer. Glass jars or BPA-free plastic containers work great.
- Cool the coconut milk completely before storing it. Putting warm milk in the fridge can raise the temperature inside and potentially spoil other foods.
- Label the container with the date you made the coconut milk. This way, you’ll know exactly how long it’s been stored.
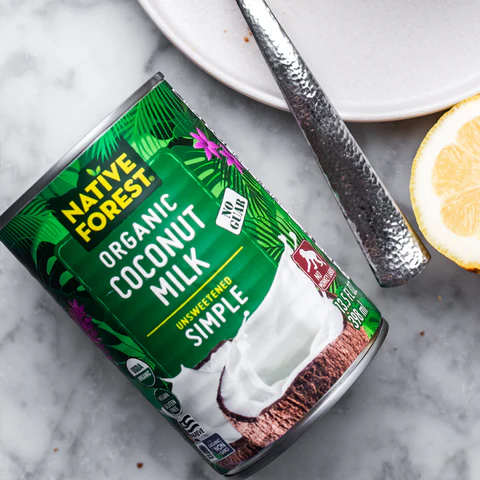
Shelf Life Of Coconut Milk
Homemade coconut milk doesn’t have the preservatives that store-bought versions do, so it won’t last as long. Generally, you can expect it to last:
- In the refrigerator: Up to 3-4 days.
- In the freezer: Up to 2 months.
Keep an eye out for any signs of spoilage, such as a sour smell, discoloration, or mold. If you notice any of these, it’s best to discard the milk. For a longer shelf life, consider freezing coconut milk.
Freezing Coconut Milk
Freezing is a great way to extend the life of your homemade coconut milk. Here’s how to do it:
- Pour the coconut milk into freezer-safe containers or ice cube trays.
- Leave some headspace in the containers, as the milk will expand when frozen.
- If using ice cube trays, once the cubes are frozen, transfer them to a freezer bag for easier storage.
When you’re ready to use the frozen coconut milk, you can thaw it in the refrigerator overnight or use it directly in recipes that require cooking.
Keep in mind that the texture may change slightly after freezing, but it will still be perfectly fine to use in smoothies, curries, and other dishes. You can even use it to make a dairy-free alternative to ice cream!
Creative Uses For Coconut Milk

Coconut milk isn’t just for drinking straight from a glass; it’s a versatile ingredient that can elevate a wide range of dishes. From savory to sweet, its creamy texture and subtle flavor make it a fantastic addition to your culinary repertoire.
Let’s explore some exciting ways to use your homemade coconut milk.
Coconut Milk Recipes
Coconut milk shines in a variety of recipes. For a taste of Thailand, try using it in Tom Kha Gai (Thai Coconut Soup) or a quick Coconut Curry Chicken. If you’re feeling adventurous, whip up a batch of Coconut Milk Irish Cream or some refreshing Coconut Mango Popsicles.
Don’t forget about desserts! Coconut milk adds a rich, creamy texture to ice cream and other sweet treats. There are tons of recipes out there, so experiment and find your favorites!
Incorporating Into Smoothies
Coconut milk is a game-changer for smoothies. It adds creaminess and a subtle sweetness that complements fruits and vegetables perfectly. Swap out your usual dairy or almond milk for coconut milk to create a richer, more flavorful smoothie.
Try combining it with berries, bananas, spinach, and a scoop of protein powder for a healthy and delicious breakfast or post-workout snack. You can even use it to make nut milk smoothies.
Using In Baking
Coconut milk can be a fantastic substitute for dairy in baking, especially if you’re looking for a vegan or dairy-free option. It adds moisture and a delicate coconut flavor to cakes, muffins, and cookies.
You can even use it to make a delicious glaze for your baked goods. For example, you can use it to make a moist coconut cake. Experiment with different recipes and see how coconut milk can transform your favorite treats.
Wrapping It Up
Making your own coconut milk at home is super easy and totally worth it. With just a few simple steps, you can whip up a fresh batch that tastes way better than store-bought. Plus, you get to control what goes in it, so no weird additives or preservatives. And don’t forget about that leftover coconut pulp!
You can use it in baking or smoothies, so nothing goes to waste. Give it a try, and I bet you’ll love it just as much as I do. Enjoy your homemade coconut milk in your favorite recipes, and let me know how it turns out!
Frequently Asked Questions
What kind of shredded coconut should I use for making coconut milk?
Use unsweetened, dried shredded coconut for the best results. It should be fine and not too stringy.
How do I store homemade coconut milk?
Keep it in an airtight container in the fridge. It lasts about 3-5 days.
Can I freeze coconut milk?
Yes, you can freeze coconut milk in ice cube trays or containers for up to 3 months.
Why does my coconut milk separate?
Coconut milk naturally separates because of its fat content. Just shake or stir it before using.
What can I do with the leftover coconut pulp?
You can dry it out and use it as coconut flour or add it to smoothies and baked goods.
How can I sweeten my coconut milk?
You can add sweeteners like honey, maple syrup, or dates during the blending process.


Leave a comment